

Zombie Cure Lab is a strategy game developed by and published by. The game is still in early access and can be quite tricky for new players. In this guide, we will learn how to successfully reach the milestone of turning your first zombie into a level 1 Humbie. Once you are able to reach this milestone comfortably, progressing through the game becomes much easier. Note: This Beginners guide is written with the assumption that you have completed the Tutorial mission. Once you read this article, you may also want to check out our Zombie Cure Lab: Base Building Guide over here.
Settling into your new world
The first thing you want to do is to determine which difficulty you want to play on. For new players, I recommend going for the “very easy sandbox” mode so that you can comfortably get into the game mechanics without feeling too overwhelmed.
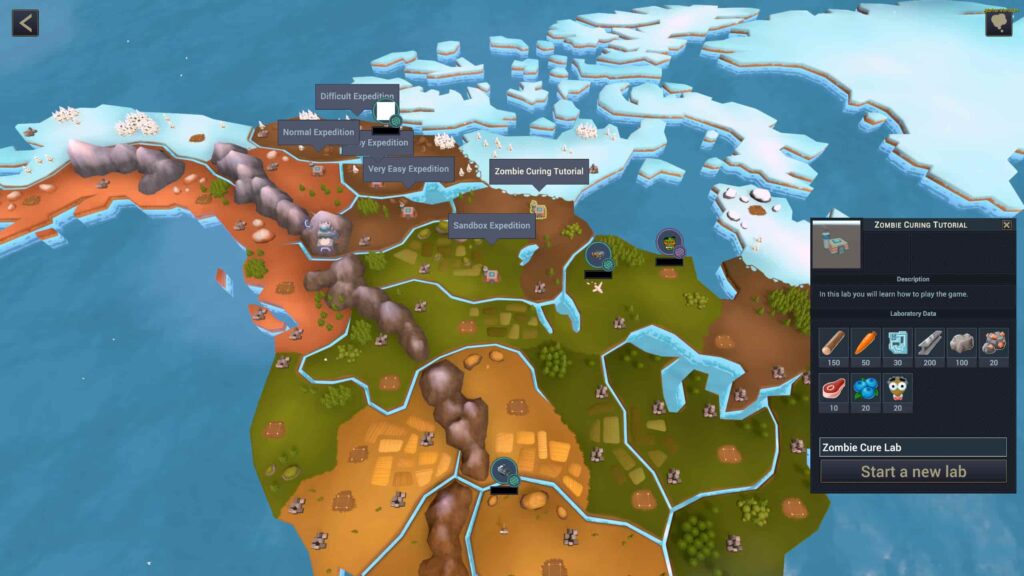
Once you have selected your world, you will need to place your base down. Move around the map and find a spot that seems to have a good number of resources closely concentrated.
It’s also useful to keep the direction of the zombie attacks in mind when placing your base. I like to position my base in such a way that my workers who are out mining can return back via a back door and the zombies won’t be able to reach them because they would go straight for the gates.
Once your base is set, place down your headquarters and landing pad. I like to keep these in the centre of my base as the Main Storage is the heart of the mission and if it’s destroyed, the game is over.
Once the landing pad is down, a helicopter should soon arrive with your scientists and you are ready to begin work
The Hunt for Resources
Depending on the difficulty level that you chose, you would notice that you have a set number of resources already available. These are valuable in getting a head start but don’t get complacent looking at them. Once you run out, it takes a while to reach those numbers again, so you need to start collecting resources immediately. To do so, you will need to build a Resource Post and a Hauling Post.
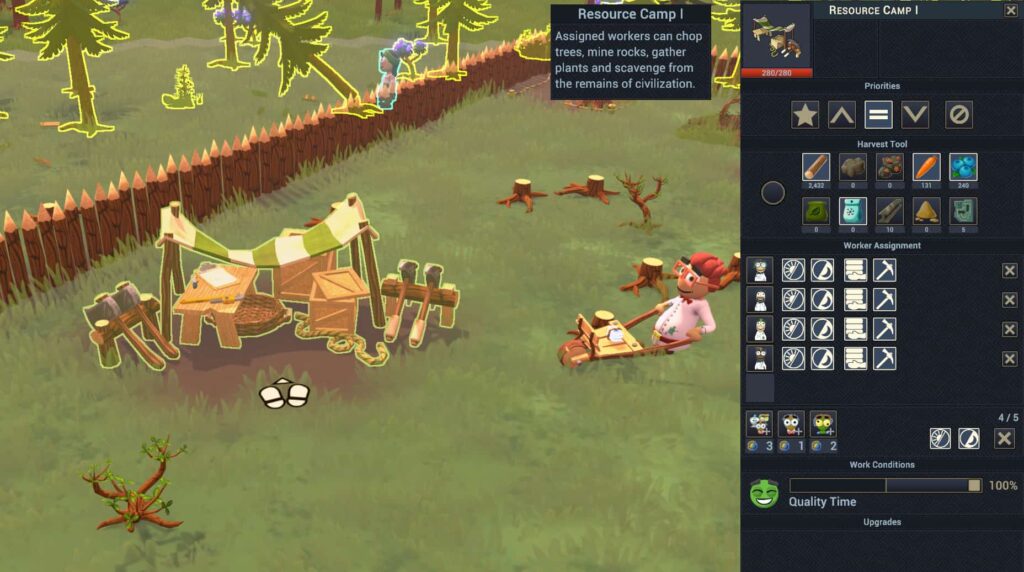
Resource Camps
Before you place down your first Resource Camp, hover above the terrain and get an idea about the resources available at the spot you are looking at. Try to place it in areas rich in wood and gooseberries to in the first part of the game. If there are any Ice packs, vegetables or other resources nearby, that’s a bonus.
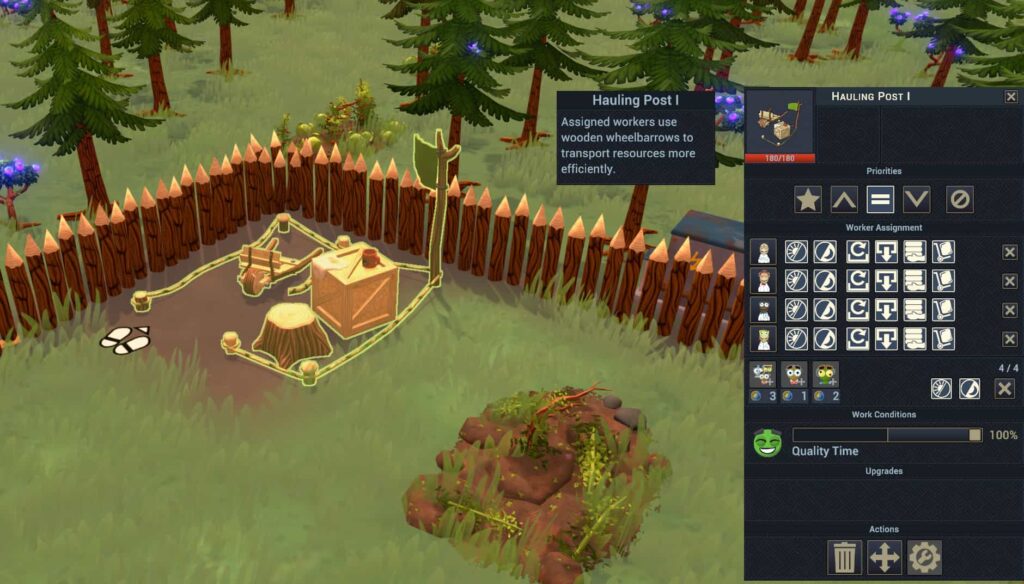
Hauling Camps
You need a hauling post to get your resources back to your main base. These have a large coverage area so you can place your Resource Campfar enough and the hauling post will pick up the items as long as the coverage circles intersect with the main base and the Resource Camp.
The important structures you need to build
If you played through the tutorial like you should have, this part will be a bit easier. Nevertheless, let us go over the main buildings and what you need to build inside them for a successful beginner base:
Bedrooms
- Beds
- Couches
Your workers aren’t machines and will get tired out if you work them day and night. Having a bedroom allows them to take rest and relax. This is why you need beds and a couch.
Kitchen
- Dining Table
- Meat Cultivator
- Feeding Mat
Just like sleep is an important need that needs to be taken care of. Food is another need that you have to constantly look at. Initially you can survive of your reserve foods but it’s probably best that you start converting food with the meet cultivator and a feeding mat for your Humbies.
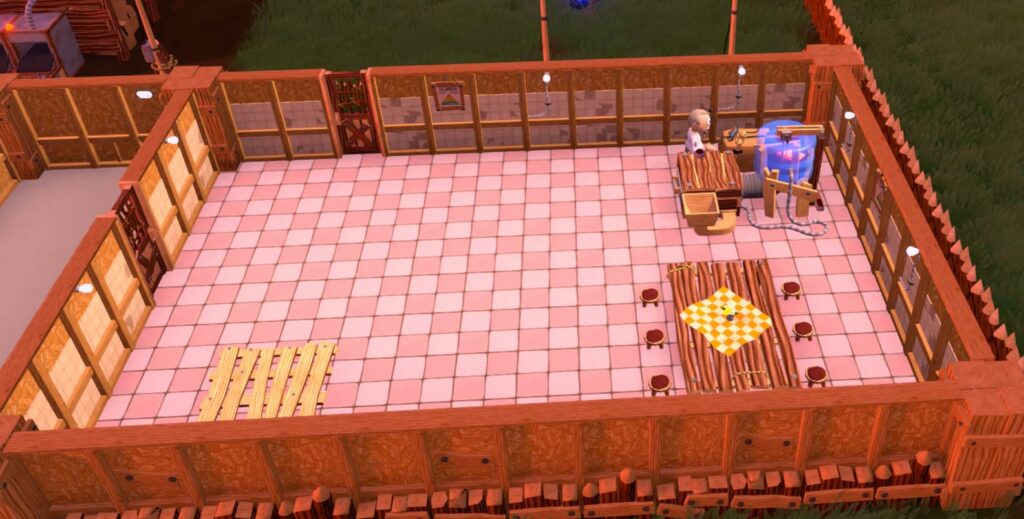
Science Room
- Research Desks
- Treatment Chamber
The science room is one of the most important buildings of the game. It allows you to create research points that you need to unlock new technology. You do this by creating research desks which is required gooseberries to run along with a worker. Equipment such as Treatment Chambers can be placed inside a science room.
Training Room
- Leg Press
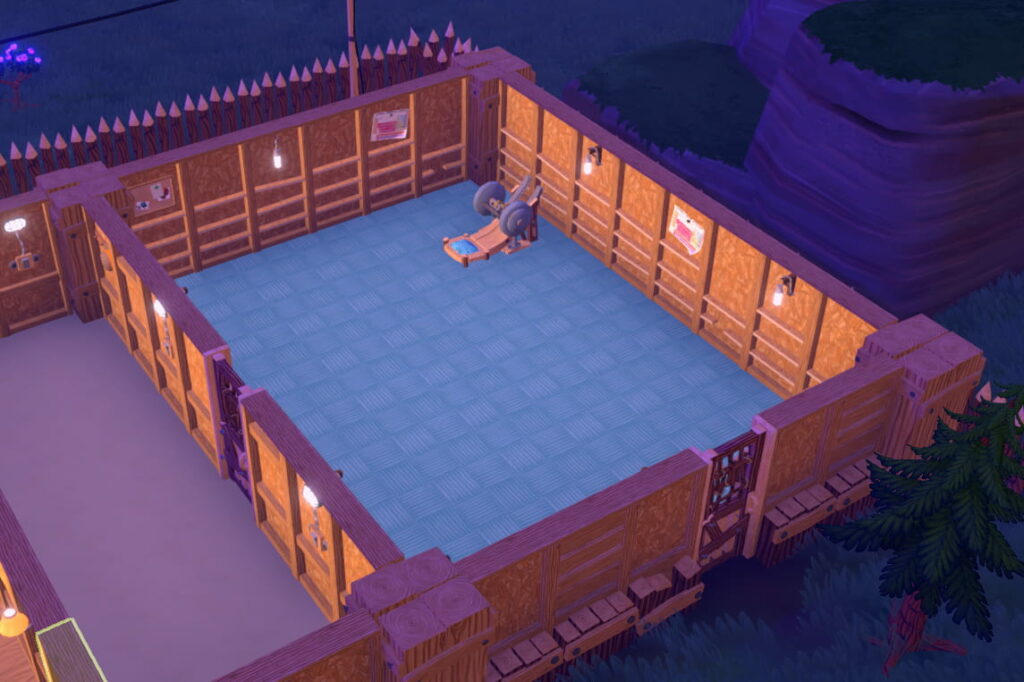
Once you turn a zombie into a human it goes through several stages where it needs a lot of care and attention. A training room is needed to exercise a Humbie to keep him calm (They get angry if not exercised and fed.)
Other structures and equipment needed
- Snowball Thrower (For freezing zombies)
- Breeze Blower (For creating ice packs which Snowball Throwers use as ammo
- Gates
- Windmills/or other power sources
Defending your base and converting your first zombie
Almost all of your anti zombie equipment relies on freezing enemies into blocks of ice.
It’s a good idea to place your Snowball Throwers just to the side of your gate. Two snowball throwers should be plenty at the early stage. Snowball throwers use ice packs as ammo. In order to get ice packs you need to scavenge resources out in the world or build a breeze blower. Try to get two of these going as well. This should give you enough to beat back the first few waves depending on your difficulty level.
Conclusion
We hope that you have found this beginner guide useful. You may still find yourself needing to start a new world when things invariably get messy. This is part of the experience, and you will find that learning from your mistakes is one of aspects that makes strategy games so fulfilling. If you dont have the game yet, you can pick up Zombie Cure Lab on steam by clicking here
What are your thoughts on our Beginners guide to Zombie Cure Lab? Let us know in the comments below!
Follow Daily Meta Dose on Twitter, Instagram, and LinkedIn, or join on Telegram channel for all the latest updates on Video Games, Movies, TV Series, Anime, and more!