The Sims 4 building guide: 19 tips and tricks
Build the best house in the shortest time
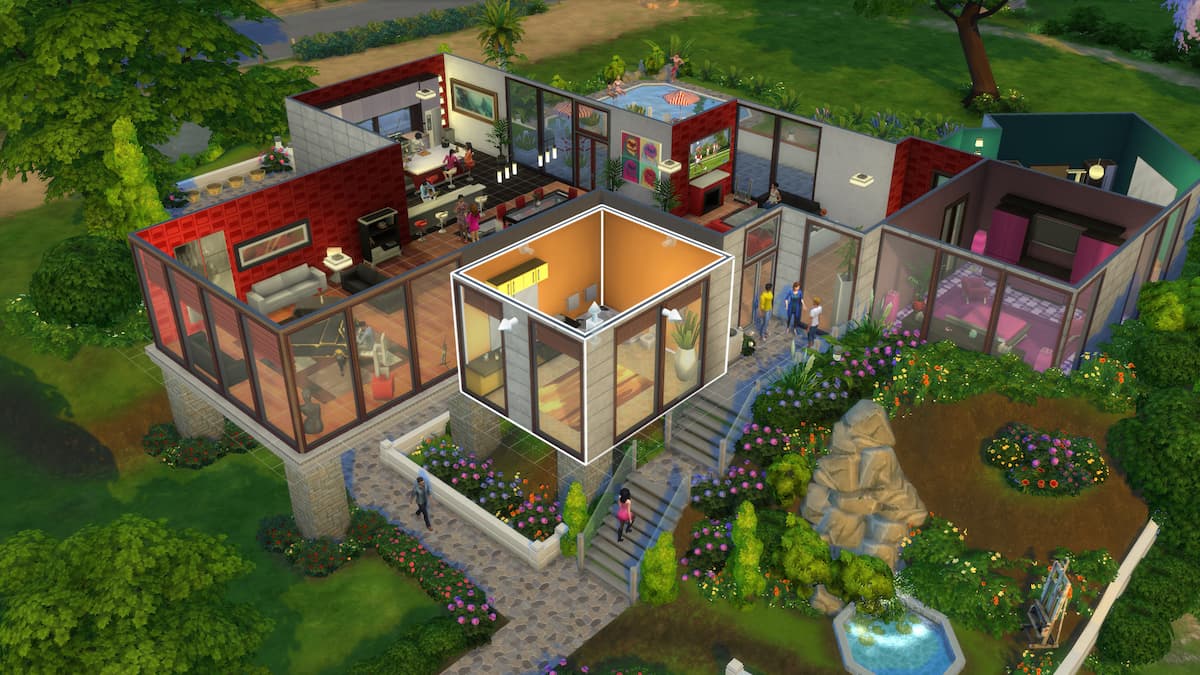
Building is one of the most important parts of the game in The Sims 4, by Electronic Arts. Building your house can also be a hard part if you want to do it perfectly. And it can be really daunting when you haven’t done much of it before. Building the best house according to your mind in The Sims 4 might require a lot of planning, time, and effort. In this article, we will give you the best tips to easily build your house in The Sims 4 in a very short time.
Tips and tricks for building in The Sims 4
1. Hold CTRL and redraw a wall to delete it
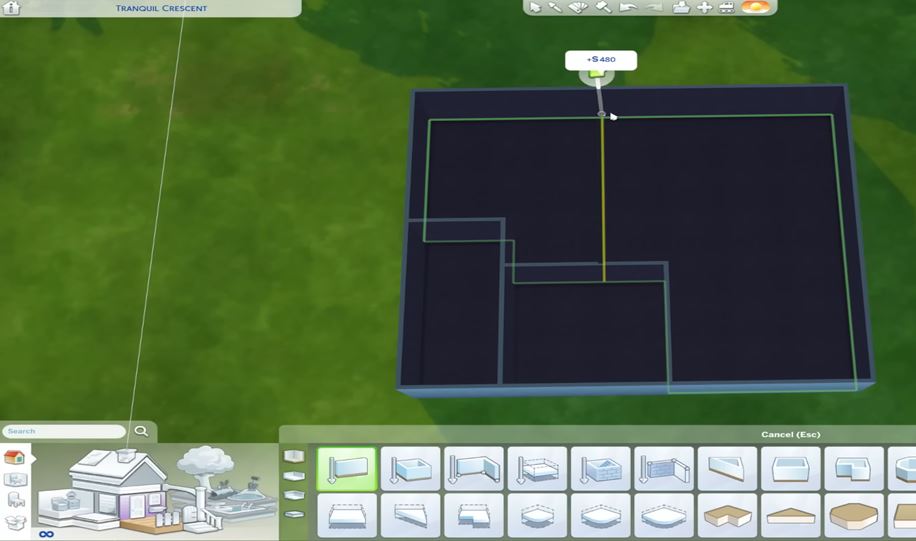
Instead of going through and individually deleting a wall or trying to delete a row of walls. You can get the wall tool, hold CTRL, draw the line on the wall you want to delete, the wall will be deleted. This is super useful for trying to delete walls quickly. It also works on fences.
2. Use ‘bb.moveobjects on’ to freely move objects
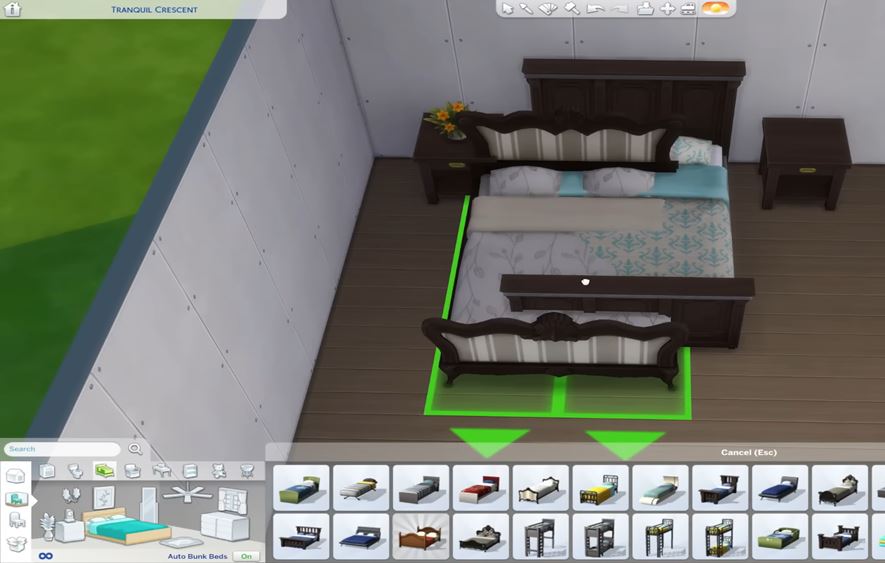
For shifting and arranging, this cheat works wonders. You can use this cheat to position and place the objects anywhere you want. You can position the flower pots in a bunch which makes the room a little more arranged and beautiful. You can also overlap the images which are placed on the wall.
3. Hold ‘alt’ to freely place and rotate objects
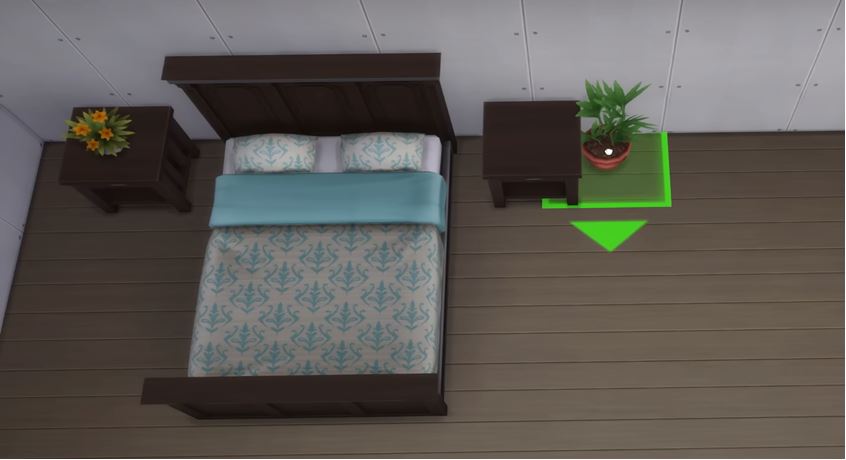
If you want the objects to rotate and freely place them hold the ‘alt’ button to place them. By default, where the objects placed on the grid isn’t super good, But if you hold ‘alt’ you can free place it and scoot it and put it wherever you want. When you are holding ‘alt’ you can also freely rotate objects. Instead of rotating in grids, you can freely rotate them.
4. Use a TS3 camera to get better angles
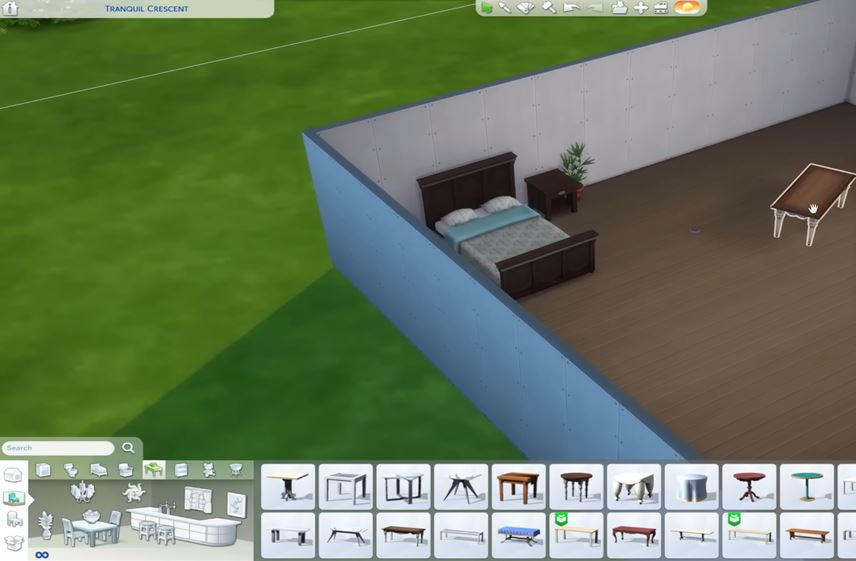
In-game there’s a sims 4 camera and a sims 3 camera. They change the controls which are kind of confusing. It is recommended to use the sims 3 camera over the sims 4 one. It is better as you can get better angles and can rotate around more. You can also zoom out and zoom in. You can also have a top-down view which is really useful. To get a better view, always use the sims 3 camera.
5. Use ‘0’ and ‘9’ to raise objects up and down
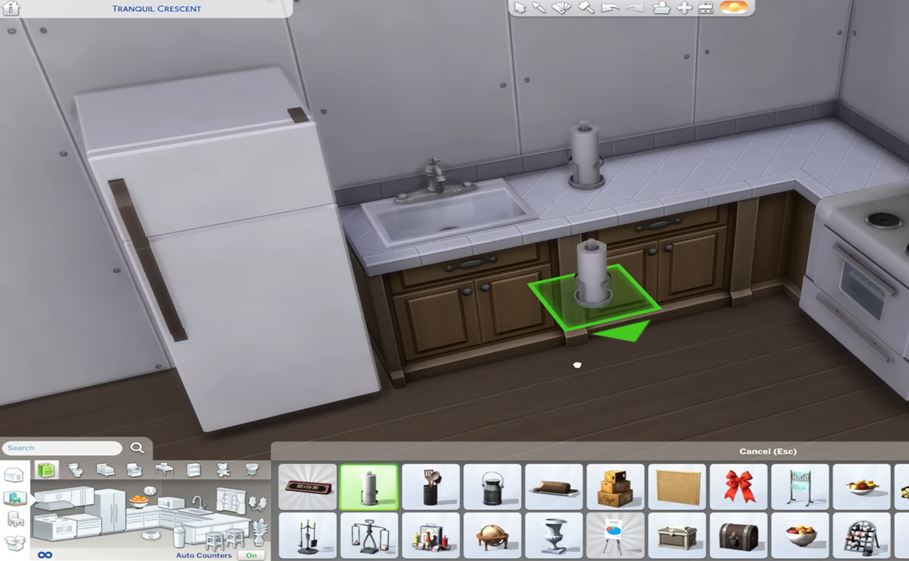
Talking about some more detailed work and freely placing objects, you can actually raise items up and down as much as you like. If you use zero and nine keys, you can raise and lower objects in the game. For example, you can place a flower vase on a shelf.
6. Set camera positions by pressing CTRL+[NUMBER]
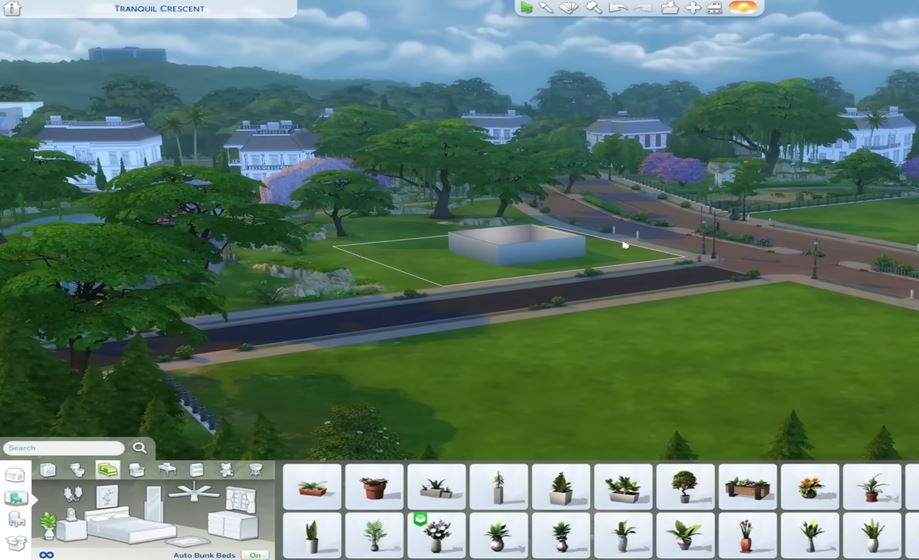
It’s pretty useful for cinematic kinds of stuff like taking screenshots and taking videos, but an average player probably doesn’t need it.
7. Fix object slotting
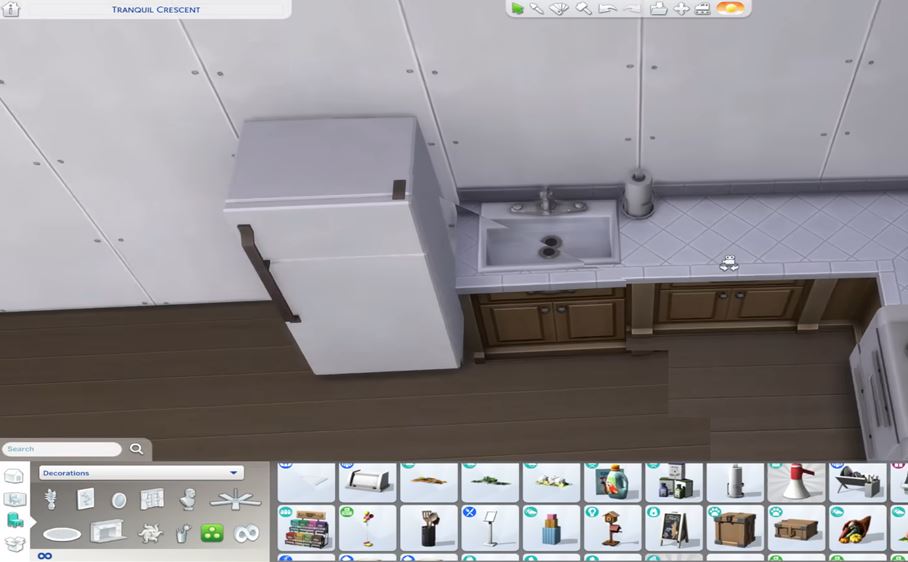
It’s another way to fix objects that are slotting into the wrong place. Because of the grid system, you can not place the objects in the desired position you want. In the game, if you drag the objects up and down it remains floating in the air. Then you can adjust the position using the ‘alt’ key arranging it perpendicular to your desired position. Then you can alter the other things to place the objects.
8. Use [ and ] to size up and down objects
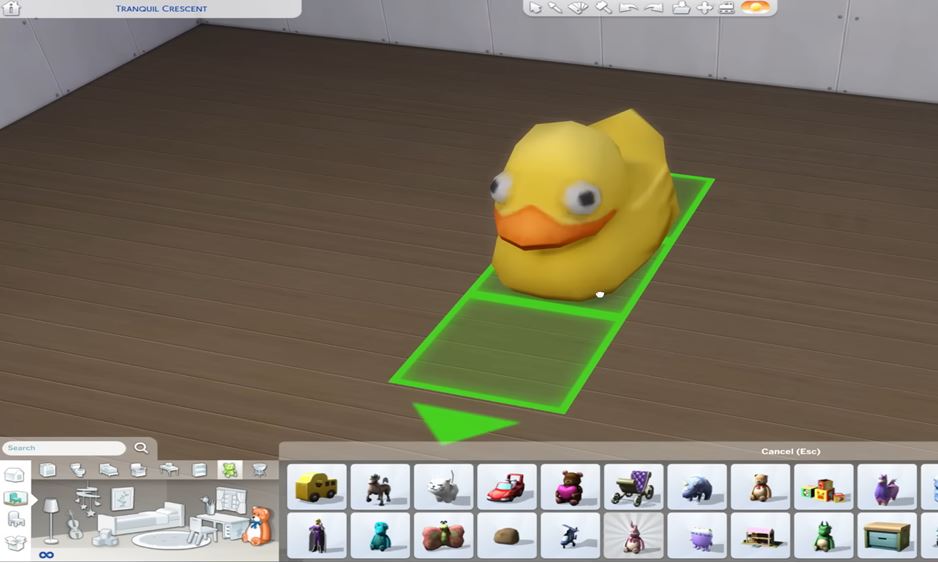
You can scale the objects by using the [ and ] keys. It is very useful for decoration purposes. You can make any objects bigger or smaller according to the size you are wishing for. For example, if you want a huge flower vase then you can adjust the size of the vase with these bracket keys.
9. Use F5 to place objects on quarter tiles
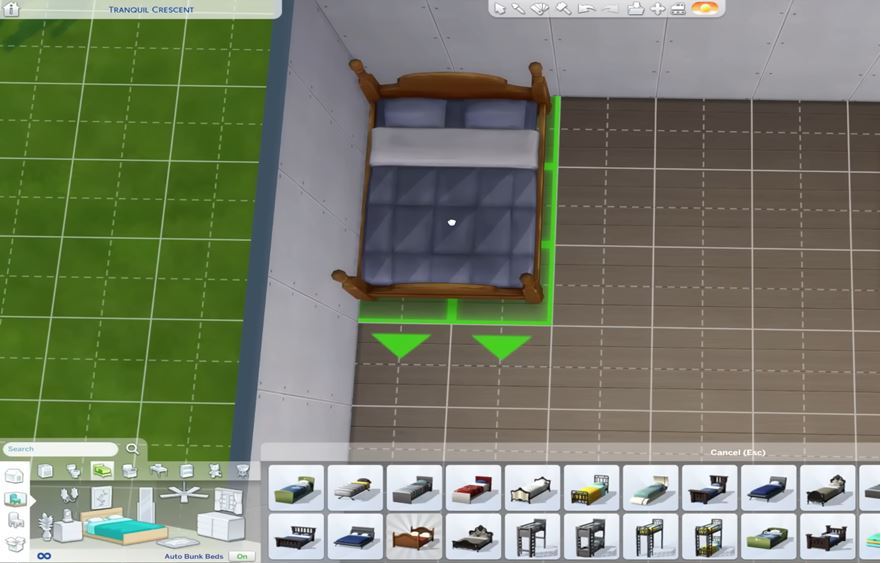
You can customize your placements using quarter tiles. Kind of similar to ‘alt’ placing. Instead of placing the objects using the half tile, you will place the objects on quarter tiles by pressing F5. When you hit the F5 key, it turns on quarter tile placement. It is helpful for placing windows to customize. It will make your placement more accurate.
10. Use angled brackets to rotate objects and flooring
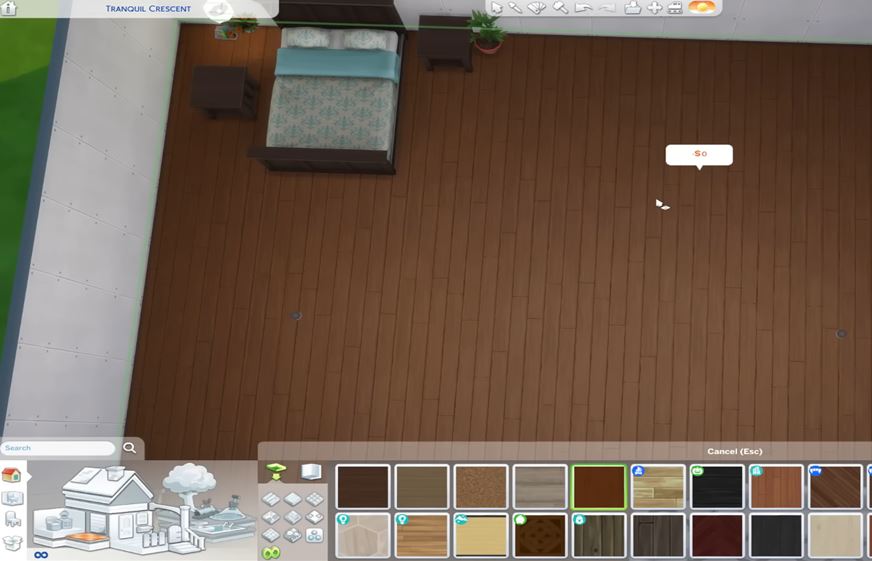
To rotate the flooring you can use < and > angled bracket keys. If you want to change the direction of the floor, you can just swap it around. This is even good for placing concrete pads because you may line up somewhere so, you can do with these keys to make it look good.
11. Hold alt to place the wallpaper on just one wall, and shift to place it in an entire room
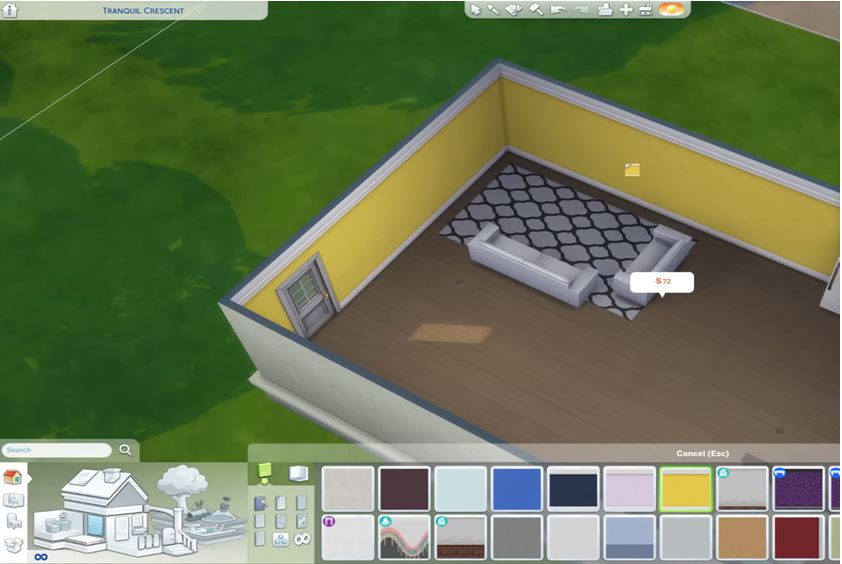
While you are building your house or any building if often have to paint it to manage the interior and exterior looks. It is boring to paint only a part of the wall every time which consumes time. You can press the alt key to place the wallpaper or paint on the entire wall. To paint the whole room, repeat the same process by holding the shift button instead of the alt button. It makes the decoration easier and time-saving.
12. Using infinite money cheats

The money cheats help you to have unlimited money. The cheats are ‘kaching’, ‘motherlode’, and ‘money [amount]. By entering these cheats you will be having more money. With that money, you can build everything you want.
13. Hold shift to adjust just one side of a roof
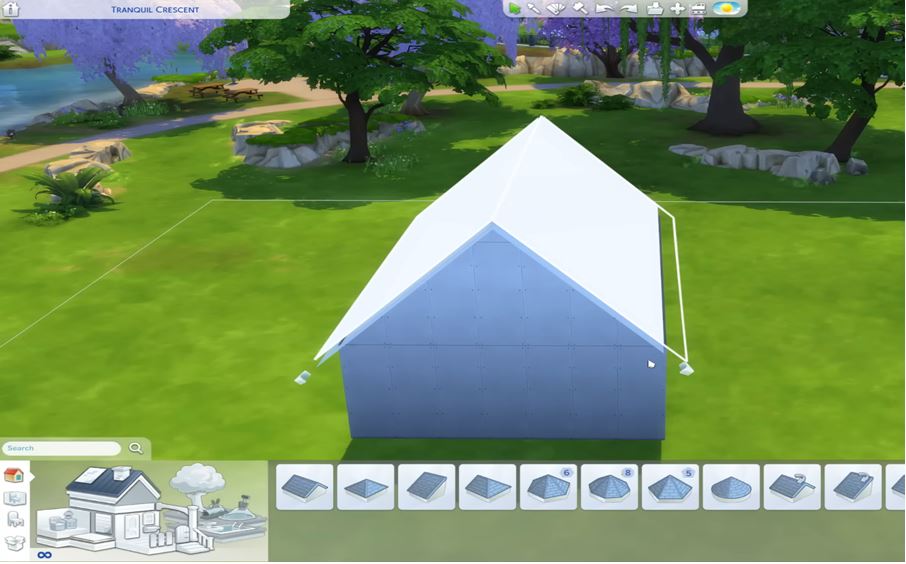
For adjusting the roofs of the houses, there are many buttons adjusted to it. You can see that if you adjust one side to make the roof short, or long, or adjust the curve, the changes applied are on both sides of the roof. But if you want to adjust one side of the roof you can simply hold the shift button and make changes.
14. SHIFT+C gives more roof control options + smooths it
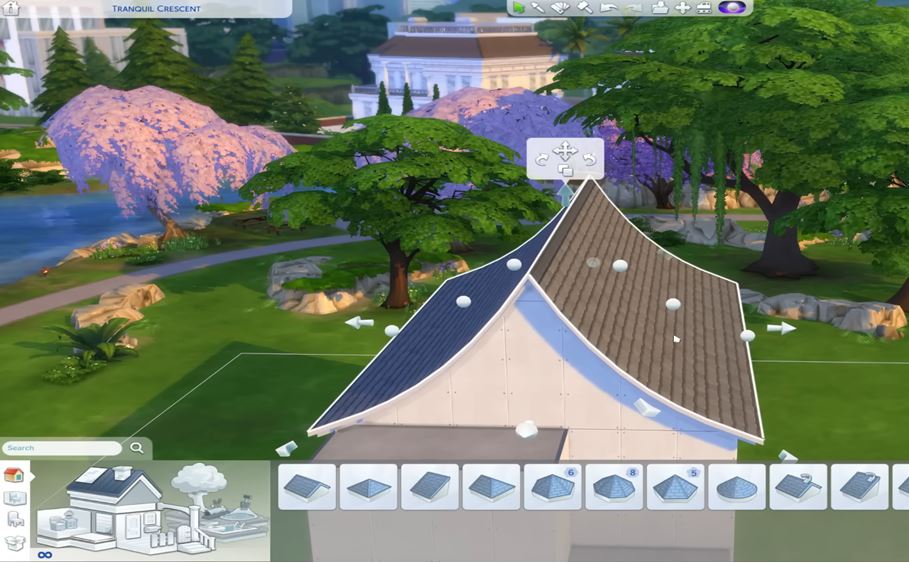
If you press SHIFT and C, it gives you more options to adjust the curve of the roof. So if you wanted to have a kind of fan fancy curved roof, you can use the little circles to do it. There are a lot of options to experience more curves and to implement in your house.
15. Use alt on roofs to get a more specific placement
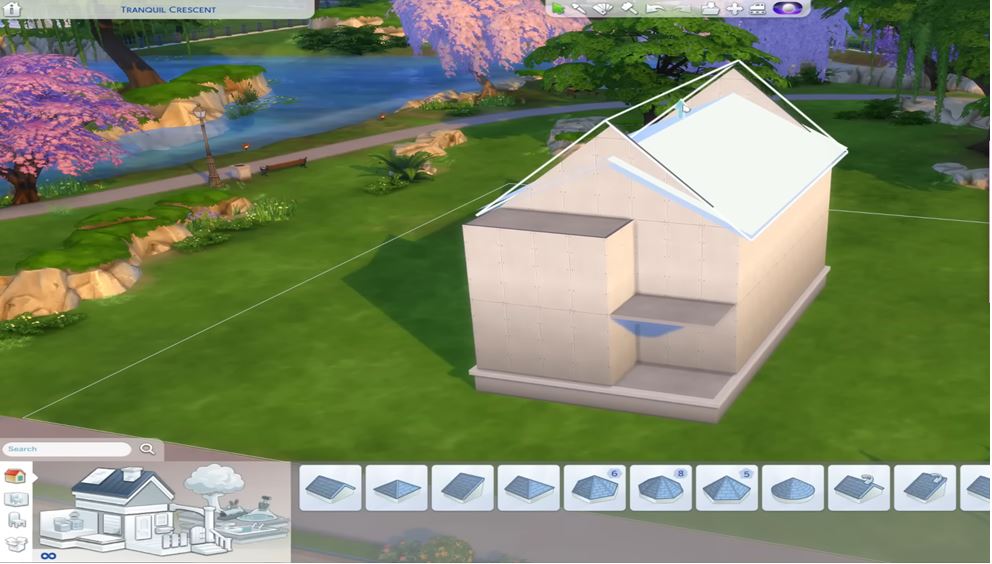
You can use alt to get a slightly better placement of the roofs. By default when you try and adjust the height of a roof, it kind of slots to a bunch of different heights. Instead, you can hold the alt button and then freely place it at wherever exact height you want.
16. Hold shift to place trim or friezes on just one wall
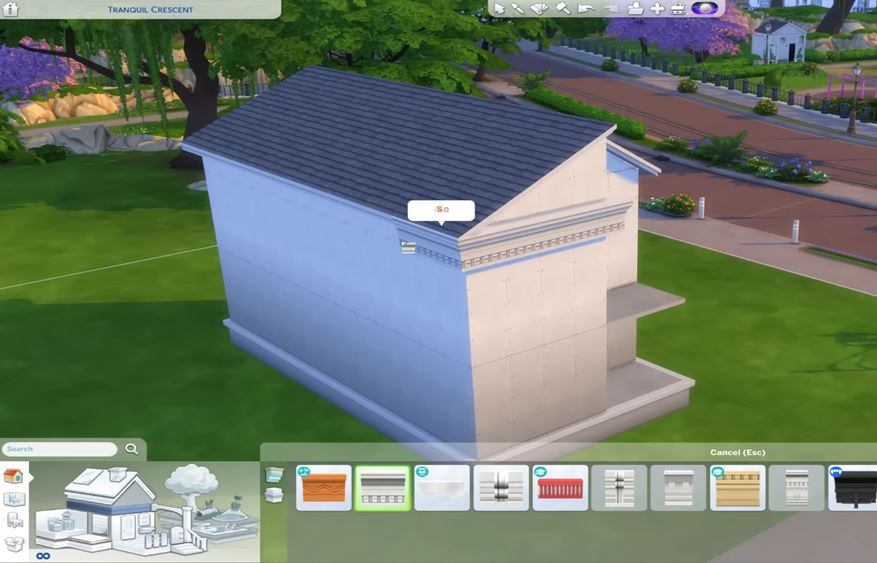
You can hold the shift button to place trims or friezes on just one wall. Instead of placing them one by one grid by grid, you can place the whole thing on the wall in one go. It will save you much more time.
17. Fix roof clipping inside houses
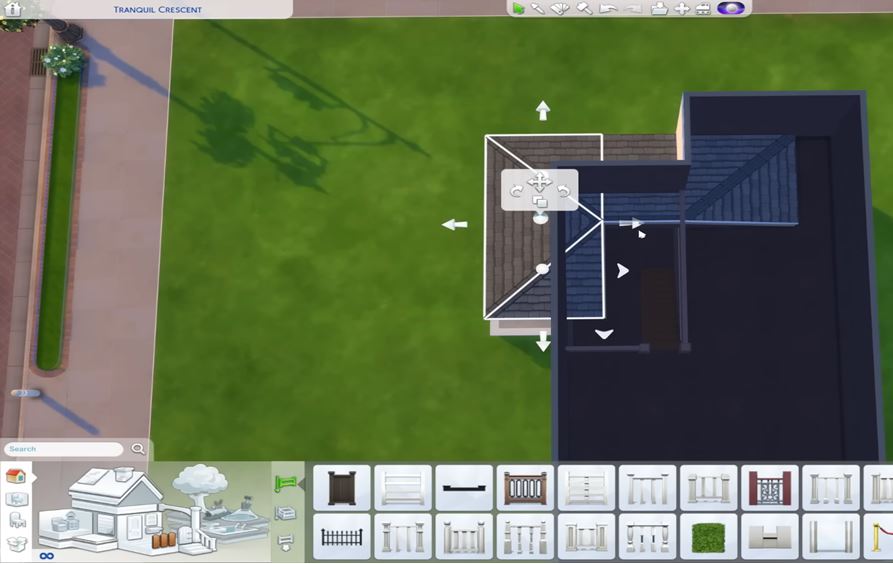
The main problem with the roofs is that they often overlap and overhang the building. We can fix them by trying to line them up with the walls. You can try and scoot it one tile back, and then when it’s lining up with the wall, it doesn’t come through. It will be okay from the interior and the exterior. This will bring a decent look to your building.
18. Save money by deleting the fence + underside of stairs on porch
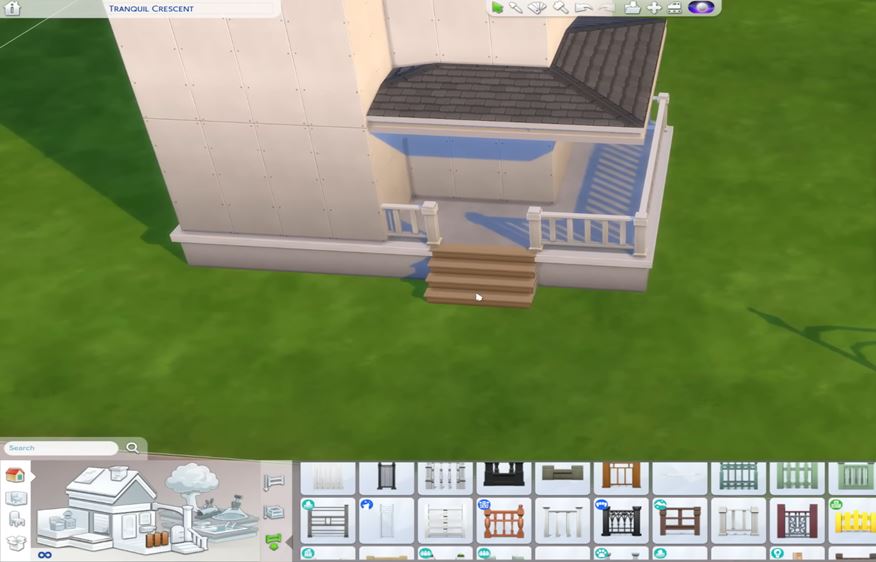
If you are trying to build on a budget, you can delete the underside of the stairs and the fence behind the stairs to save money. For example, if you are attaching the stairs to the fence then the fence will disappear. So, there is no point in keeping the fence if you can’t see it. You can just delete the underside of the stairs and you will be saving money.
19. Access custom cabinetry to have more options
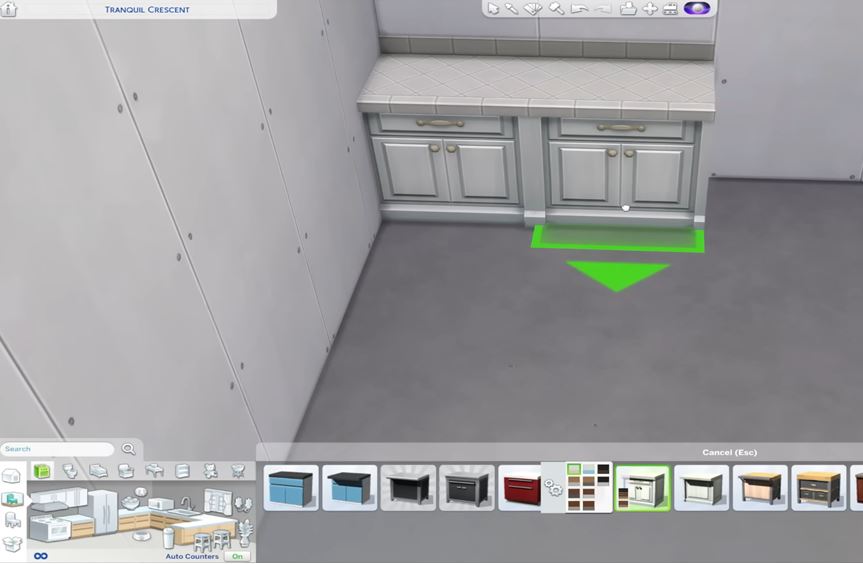
You can actually access a ton of custom cabinet options in the base game. All of the cabinets have a ton of different variants. By default, the automatic counter placement will be on so you just need to place them well. If you want options, you can turn them off. When you will turn it off then automatically it will show you the menu, and you can arrange the cabinet. It is mainly used to customize the kitchen or any room of the building.
That is everything for knowing how to build efficiently in Sims 4. However, if you are starting new in this game, consider checking out our beginner’s guide, and the best mods and cheats for Sims 4.
What are your thoughts on our building guide for The Sims 4? Comment down below!
Follow Daily Meta Dose on Twitter, Instagram, and LinkedIn, or join on Telegram channel for all the latest updates on Video Games, Movies, TV Series, Anime, and more!


