
Nintendo Switch: How to inject Payload using RCM loader
Customize your firmware and play free games
Injecting payload in Nintendo Switch will allow it to boot into a bootloader, and then boot into a customized operating system similar to Switch’s official operating system HorizonOS. This will let the user run homebrew applications, play free games or increase their Switch storage with external storage devices. The process transfers small binary files into your Nintendo Switch while it’s in Recovery Mode (RCM), which will allow customizing the program and its execution during the boot before the custom or the stock Switch OS is booted. In this article, we will show you the most simple steps to inject payload in your Switch using an RCM loader.
How to inject Payload using RCM loader on Nintendo
For injecting payload, you will need a Windows or macOS PC, and preferably an RCM jig. Make sure to update the latest version of the custom firmware you want to use. The process of injecting payload using RCM loader:
- Download the latest version of the custom bootloader you want to use (Hekate, ReiNX or SX OS) in a .zip format. We will be using the Hekate firmware.
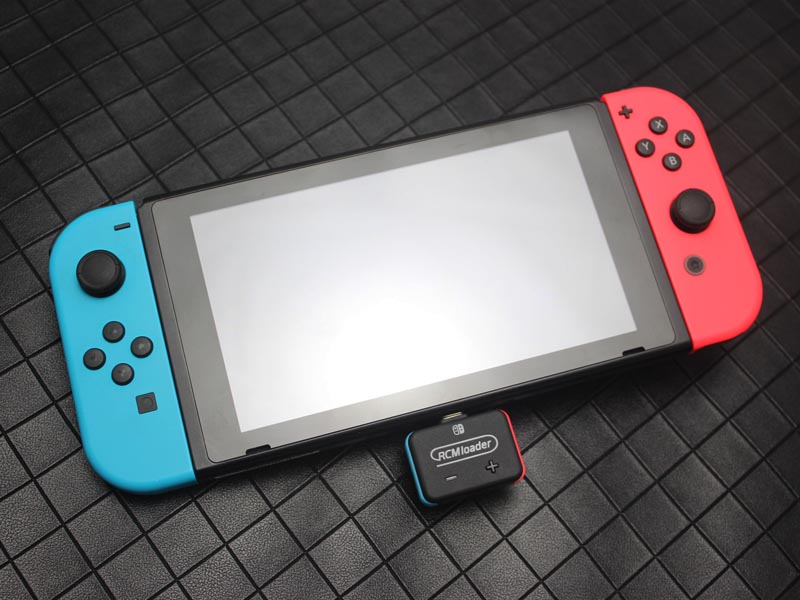
- Plug your RCM loader into your PC using a micro USB cable.
- Open the .zip file containing your custom bootloader and copy the .bin file from it.
- Enter your RCM loader’s folder and open the folder with the name of the custom bootloader you downloaded.
- Copy the .bin file from the .zip file into the custom firmware folder you chose in your RCM loader.
- Delete the existing ‘payload.bin’ file inside the folder. Rename your copied .bin file to ‘payload.bin’.
- Unplug the RCM loader.
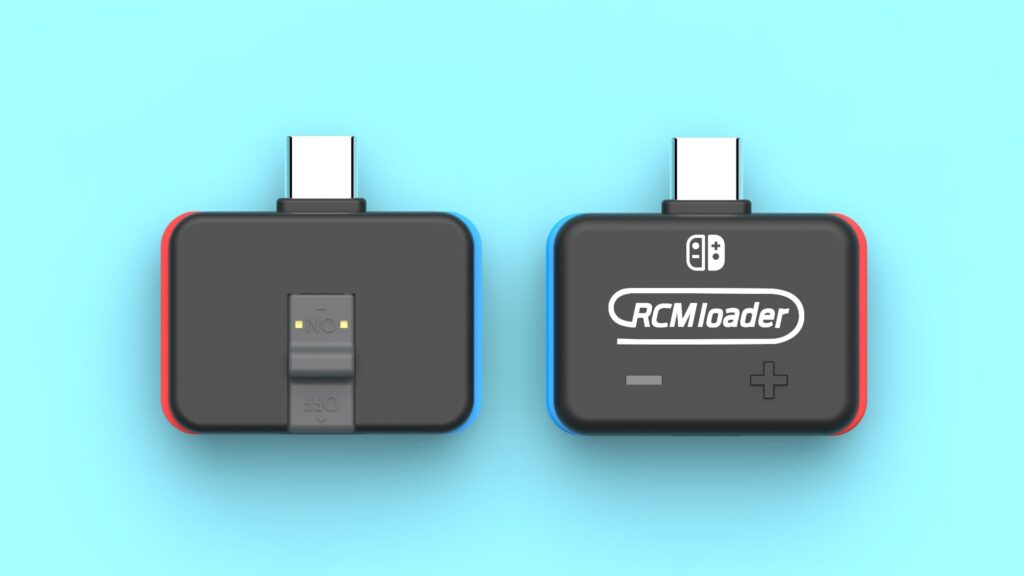
- You can press and hold the ‘+’ button in the RCM loader to switch between the payload/firmware you want to use. Each folder is represented by a different colour which is shown in the ‘readme.txt’ folder inside your RCM loader.
- Plug the RCM loader into your Switch.
- Now, enter into the menu of your bootloader by connecting pins 1 and 10 on the right side and holding the volume up and the power button simultaneously, this process can be easily done by an RCM jig with your RCM loader.
- Click ‘Launch‘ and then select the OS you would like to start with. Now enjoy!
After completing the steps and injecting the payload into your Switch console, back up your boot keys and system storage. Be careful while injecting payloads into your Switch, as many of these can contain malware or brick your console. Download payloads only from trusted sites and check before you inject them into your device.
We hope this article helped you with how to inject payload for custom firmware in your Switch. If you faced any problems, let us know in the comments section!
Follow Daily Meta Dose on Twitter, Instagram, and LinkedIn, or join on Telegram channel for all the latest updates on Video Games, Movies, TV Series, Anime,